
Okay okay, it’s time for another awesome blog post filled with loaded information that you can take away for your ServiceNow projects.
The Use Case
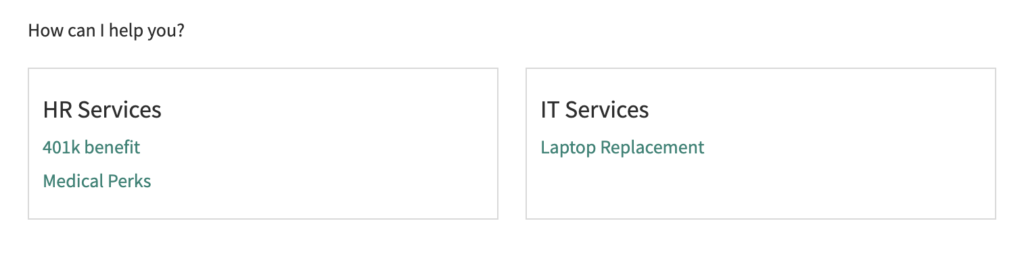
Ever come across a scenario where you needed to build a page that has a couple of menu links in it? Well, guess what?! Today is your lucky day. We will be building a menu solution that is not only scalable but also less code intensive. The screengrab below illustrates what you will be building.
The widget that renders the menu
The html responsible for displaying the menu is rather straight forward. You have a main container that houses all the sections. These sections are then repeated based on the number of menu items present. Within the section are clickable links, this again is governed by the number of sub menu items present.
<h5>{{ data.widgetTitle }}</h5>
<div class="menu-container">
  <div class="section" ng-repeat="section in data.menu.items">
    <h4>{{ section.label }}</h4>
    <div class="item" ng-repeat= "item in section.items">
      <h5 class="m-t-sm m-b-sm">
        <a class="clickContent small-secondary-button"
           ng-href={{item.href}}
           target="{{item.target}}"
           data-id={{item.sys_id}}
           data-src="sc_cat_item"
           data-type="detail">
          {{item.label}}
        </a>
      </h5>
    </div>
  </div>
</div>
My CSS styles are super basic,
.menu-container {
  display: flex;
  flex-wrap: wrap;
  margin: 0 -1rem;

  .section {
    flex: 0 0 30%;
    border: 1px solid rgba(0,0,0,.15);
    margin: 1rem;
    padding: 1rem;

    a {
      width: 100%;
    }
  }

}
The same goes with the server script, nothing too fancy here. All we’re doing here is fetching the widget instance from the option you select in the options screen.
(function () {
	data.widgetTitle = gs.getMessage('get_help_prompt');
	data.menuWidget = $sp.getWidgetFromInstance( options.menu );
	data.menu = data.menuWidget.data.menu;
})();
Setting up the data to be rendered
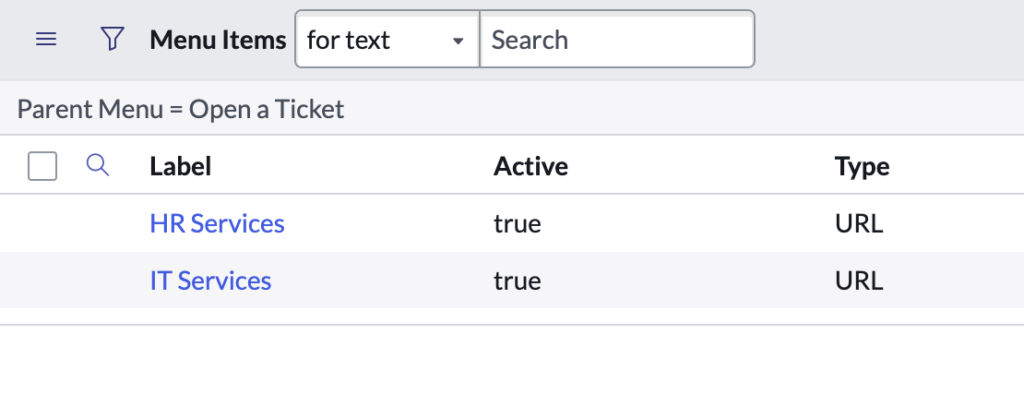
This is the crucial bit, since we’re fetching the data from the menu instances, let go right ahead and create an entry. Head over to Service Portal > Menus.

I’ve created an entry called – ‘Open a Ticket’, within this I have configured 2 menu items
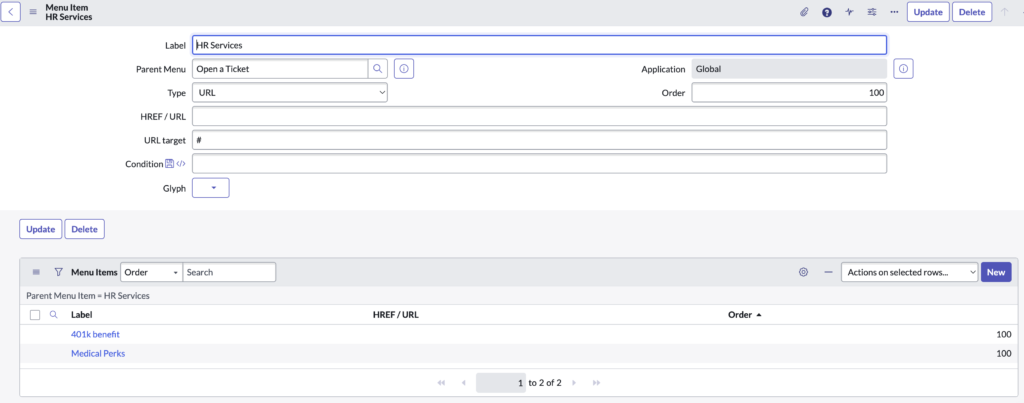
Let me open up a menu item and show you how the configuration looks like, and also the sub menus,
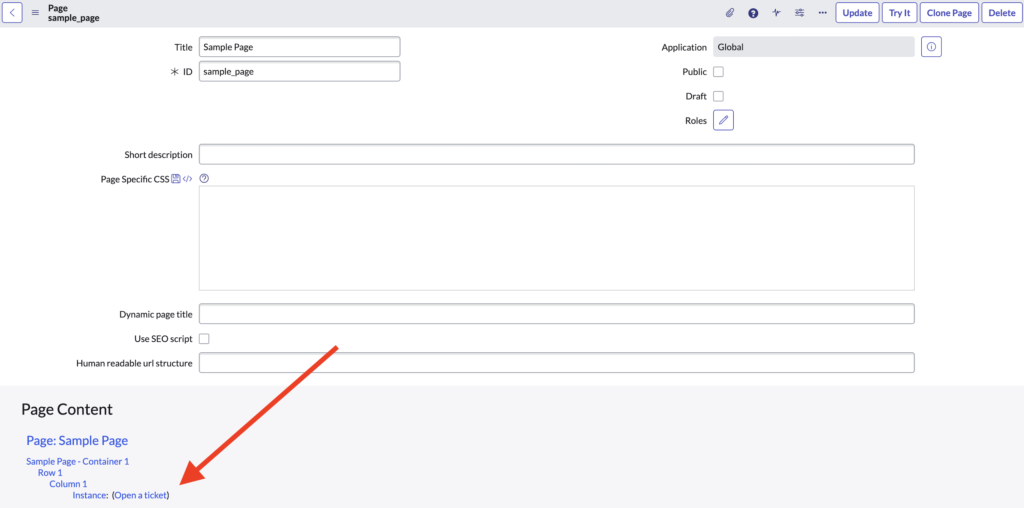
Now, for the last but important bit. You need to create a page and place this widget so that it get’s rendered. For that, head over to Service Portal > Pages. I created a page called – ‘Sample Page‘ and place the widget – Open a ticket.
In the widget instance, make sure to add the additional options
{
	"menu": {
		"value": "27ac7913973f2110c752b0efe153af81",
		"displayValue": "Open a Ticket"
	}
}
And that’s it! Give this one a go and have your own personalized scalable menu.